Windows 7 Remote Desktop Connection (RDC) – How to Turn on and Use
What is Remote Desktop Connection (RDC)?
Remote Desktop Connection is a technology that allows you to sit at a computer (sometimes called the client computer) and connect to a remote computer (sometimes called the host computer) in a different location. For example, you can connect to your work computer from your home computer and have access to all of your programs, files, and network resources as though you were in front of your computer at work. You can leave programs running at work and then, when you get home, you can see your work computer’s desktop displayed on your home computer, with the same programs running.
How to run Windows 7 remote desktop connection?
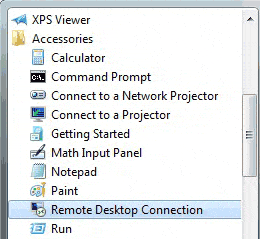
1. Click Start > All Programs > Accessories > > Remote Desktop Connection.

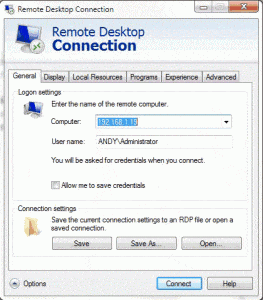
2. After that, Windows will pop up a window, where you need to type the computer name or IP address which you need to remote connect. There are many other options, for example, Display Colors, Local Resources.

3. After remote connect successfully, you need to type the user account and password.
Run remote desktop connection in Windows XP
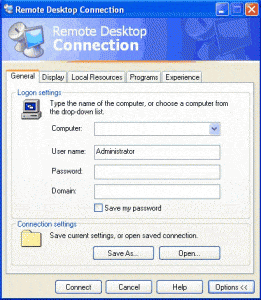
Click Start > All Programs > Accessories > Communications > Remote Desktop Connection. The operations are similar with Windows 7.

Difference between Windows XP and Windows 7 remote desktop connection
1. No password is needed in Windows 7 remote desktop first connection.
2. Windows 7 remote desktop has advanced features, including “Server Authentication” and “Connect from anywhere”.
In Windows XP, if you want to remote access a computer that is in another local area network (LAN), you need to map the port in the Router to the target computer.
You’d better disable the remote desktop when you do not use it
